Physical Examination Of The Knee Reveals The Cause Of Pain

✅ Medically reviewed | Updated August 2026
A physical examination of the knee identifies the source of pain, swelling or instability without immediate reliance on scans. Knee problems affect people of many ages, from teenagers with growth-related pain to older adults with joint wear. A structured knee examination follows four stages: look, feel, move and special tests. Each stage builds on the last, narrowing down the likely diagnosis before any imaging takes place. Clinicians favour this approach because it is quick, repeatable and needs no equipment beyond trained hands.
What Physical Examination Of The Knee Involves
Before any hands-on assessment, a clinician takes a focused history. A physical examination of the knee then proceeds through look, feel, move and special tests, in that order.
History and preparation typically cover:
- Pain location, injury mechanism and any popping sensation at the time
- Swelling onset, whether immediate or delayed after the original injury
- Previous injuries, since current symptoms sometimes stem from an old problem
- Consent and explanation, confirmed before any physical contact begins
Both legs are exposed and compared, since asymmetry often reveals the affected side. Uncomfortable manoeuvres are always saved for last, so trust is not lost early. A calm, unhurried approach tends to produce more reliable findings than a rushed one. This applies equally in a busy clinic and a longer specialist consultation.
Why Physical Examination Comes Before Imaging
Scans are valuable, though they rarely replace a careful hands-on assessment as the starting point. A physical examination of the knee can identify most meniscal and ligament problems without imaging support. Cost and waiting times aside, hands-on findings often guide treatment faster than a scan alone.
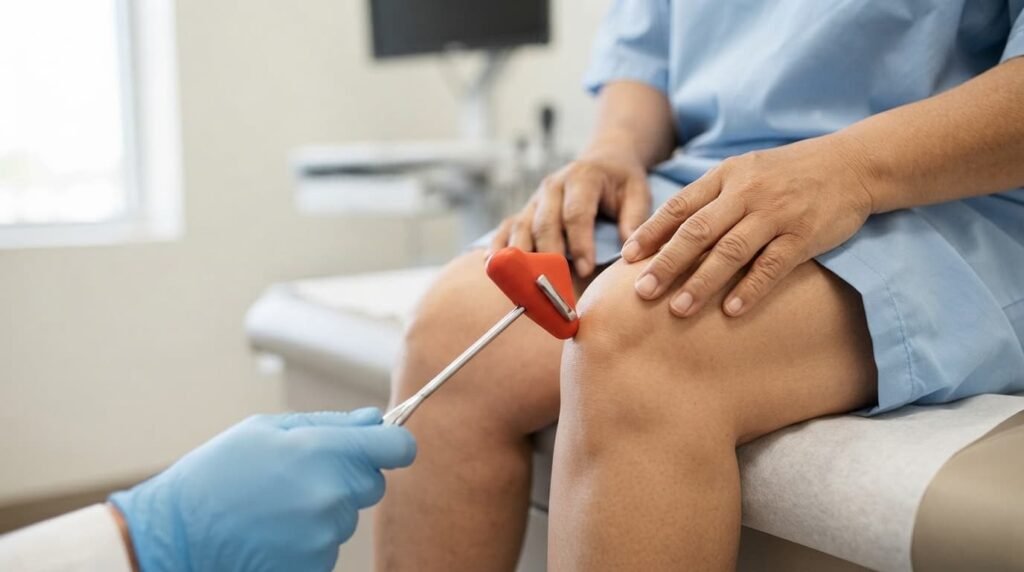
Imaging is generally reserved for:
- Suspected fracture or significant bony injury after trauma
- Osteoarthritis assessment, using weight-bearing X-rays once clinically suspected
- Complex cases needing MRI detail beyond what hands-on testing shows
Referred pain also matters, since discomfort felt at the knee sometimes originates elsewhere entirely. Hip and spinal pathology can mimic knee symptoms closely, particularly with reduced hip rotation. A careful history helps separate true joint pathology from pain referred from nearby structures. Hands-on assessment simply gives faster answers for many straightforward presentations.
Look: Gait And Standing Inspection
The Walking Assessment
Assessment usually begins with watching the patient walk across the room. The gait cycle phases include heel-strike, foot-flat, mid-stance, heel-off, toe-off and swing.
A clinician watches for:
- Limping, reduced step height and altered turning speed
- An antalgic gait, where weight shifts quickly away from a painful leg
- Quadriceps avoidance, where the knee locks straight to bypass the extensor muscles
- Leg length discrepancy or a widened stance, both suggesting instability
Each observation adds a small piece to the overall clinical picture before hands-on testing begins.
Standing And Lying Inspection
With the patient standing, the knees are inspected from the front, side and back.
Key findings noted during inspection include:
- Valgus deformity, producing knocked knees, or varus deformity, producing a bowlegged appearance
- Patella tracking problems, often shown as an inward-pointing kneecap
- Quadriceps atrophy, commonly following disuse after injury, surgery or chronic pain
- Scars, bruising and swelling, compared carefully between both knees
The patient then lies down so inspection can be repeated in a relaxed position. Lying inspection often reveals subtler swelling that standing alone can miss.
Feel: Palpation And Effusion Testing
Temperature, Bulk And Tenderness
Joint temperature is compared using the back of the hand across both knees. Increased warmth alongside swelling may suggest infection or an inflammatory flare.
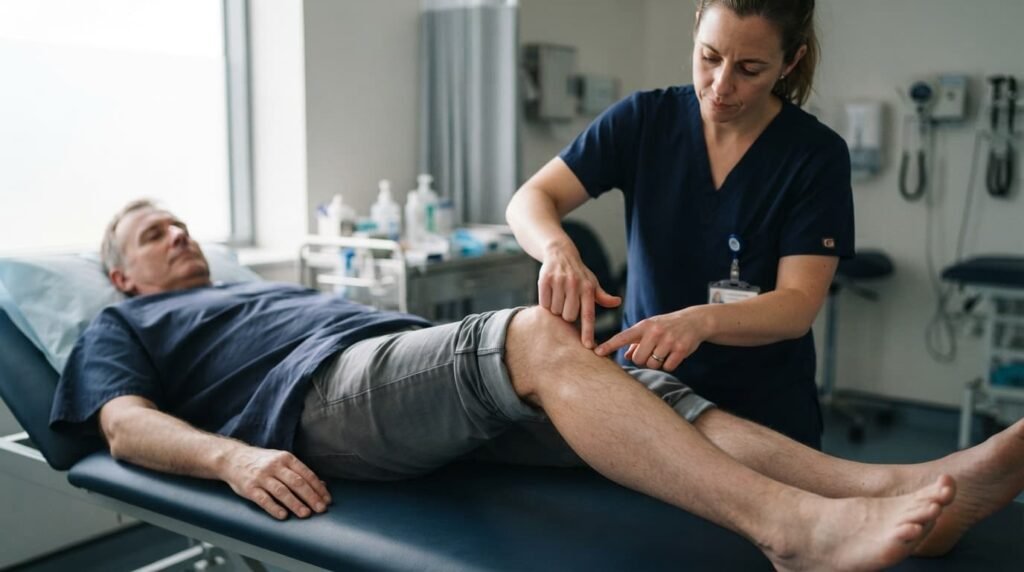
Palpation moves systematically through:
- Circumference measurement above the kneecap, detecting subtle quadriceps atrophy
- The patella, joint lines, ligaments and tendons, checked for focal tenderness
- The patellar and quadriceps tendons, checked separately for tightness
- Prepatellar bursa swelling, sitting directly over the kneecap rather than deep within the joint
Tenderness along the joint line often points toward the meniscus rather than a ligament.
Detecting Fluid In The Joint
Knee effusion is assessed using two related manoeuvres, the patellar tap and the sweep test.
The two tests work as follows:
- The patellar tap test empties the suprapatellar pouch, then presses the kneecap for a fluid bounce
- The sweep test pushes fluid from one side of the joint to the other, revealing smaller effusions as a ripple
A tense, fluctuant swelling behind the knee may instead represent a baker’s cyst. This popliteal swelling typically softens once the knee bends, unlike a true effusion. Distinguishing knee joint effusion from a popliteal cyst changes the likely diagnosis considerably.
Move: Active And Passive Range Assessment
Both active and passive movement are tested and compared between the two legs.
Movement assessment covers:
- Active flexion, which should reach roughly one hundred and forty degrees comfortably
- Passive movement, allowing a clinician to feel for crepitus, a grating cartilage sensation
- Full extension, confirming the leg can lie flat against the couch
- Hyperextension beyond ten degrees, which may suggest ligament laxity
Restricted movement often points toward a large effusion, mechanical block or muscle spasm. Forcing movement against resistance is avoided, particularly during a first assessment visit.
Special Tests Used During The Assessment
Cruciate Ligament Assessment
The anterior drawer test checks anterior cruciate ligament integrity with the knee bent to ninety degrees.
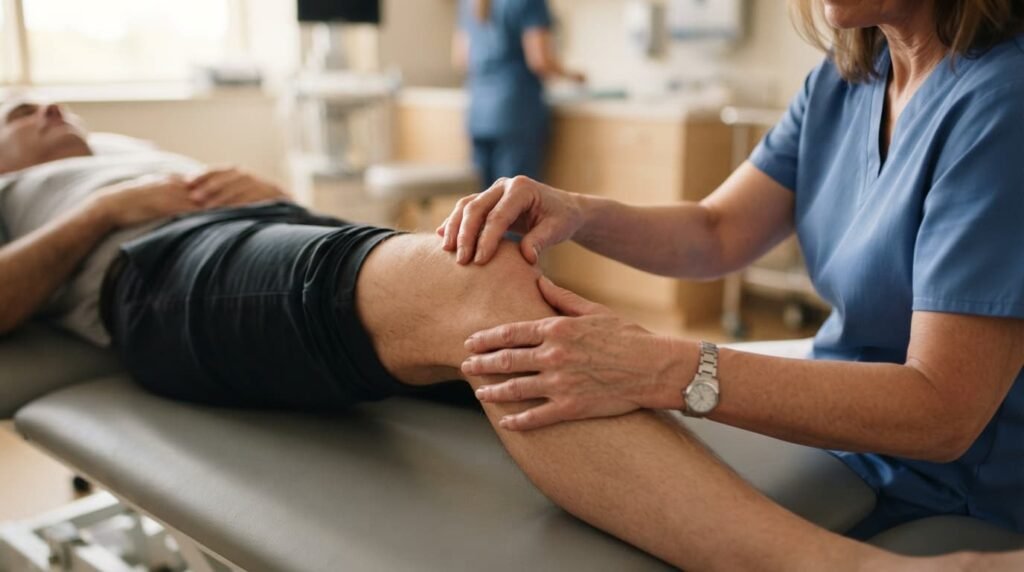
Cruciate testing includes:
- The anterior drawer test, pulling the shin forward to check for excess movement
- The posterior drawer test, pushing the shin backwards to check the posterior ligament
- Lachman’s test, performed at only thirty degrees of flexion for greater accuracy
Checking for a posterior sag beforehand avoids a false positive result on drawer testing. Many clinicians favour Lachman’s test because hamstring tension interferes with results far less.
Collateral Ligament Assessment
Collateral ligament assessment applies sideways pressure to test overall joint stability.
The two stress tests are:
- The valgus stress test knee manoeuvre, pushing the knee inward to test the medial ligament
- The varus stress test knee manoeuvre, pushing the knee outward to test the lateral ligament
A palpable gap felt during either test suggests laxity or a partial tear. Repeating both tests with slight knee flexion can reveal milder instability that full extension hides.
Meniscal Assessment
McMurray’s test checks for cartilage damage between the femur and tibia. The knee is flexed fully, then slowly extended while rotating the foot. A click accompanied by discomfort suggests a probable tear on that side. This screening approach forms one common meniscal tear test used during assessment. Current UK guidance notes limited diagnostic accuracy for this manoeuvre alone. Findings are always weighed alongside history and other special tests, never in isolation.
Common Conditions A Physical Examination Can Reveal
Findings from every stage of assessment are recorded together to build one coherent picture. A thorough physical examination of the knee often uncovers several recognisable conditions.
Conditions commonly identified include:
- Osgood-Schlatter disease, causing a tender, bony lump over the tibial tuberosity in active adolescents
- Meniscal injury symptoms, including sudden pain, a popping sensation and locking
- Persistent knee joint effusion, pointing toward osteoarthritis, inflammatory arthritis or a ligament tear
- An antalgic gait paired with reduced movement, often signalling chronic joint wear
Where structural damage is suspected, a proper knee ligament injury diagnosis guides the next steps. This confirmation shapes whether imaging, physiotherapy or injection-based treatment follows.
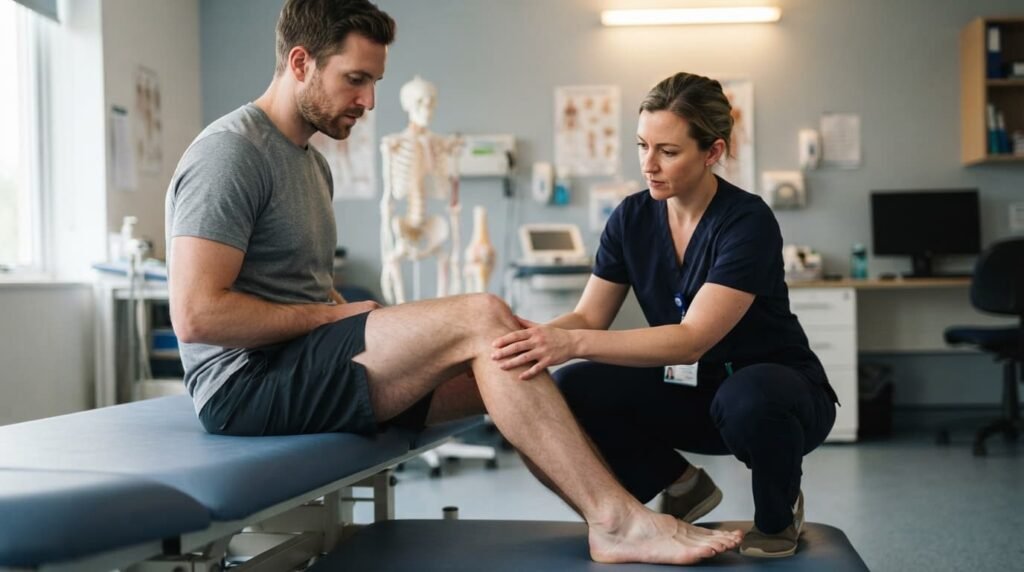
For patients managing long-term joint wear, non-surgical options are frequently discussed once osteoarthritis is confirmed. One such option, detailed in this piece on Arthrosamid treatment for knee arthritis, suits patients wanting to delay surgery. Men presenting later in life with reduced mobility often show similar findings on examination. This pattern is covered separately in the article on knee pain affecting men over sixty.
Knee Examination OSCE Versus Everyday Clinical Practice
A knee examination OSCE follows the same look, feel, move and special tests structure taught to medical students. Examiners typically expect each step performed in a consistent, predictable order.
Real-world practice differs slightly:
- Certain exam-only steps used purely for training may be skipped
- Focused questions about daily function and previous treatment are added instead
- The sequence adapts depending on presenting symptoms and patient comfort
Both settings share the same underlying goal, reaching an accurate diagnosis through repeatable technique. Structure exists to prevent important findings being missed under time pressure.
When Specialist Review Becomes The Sensible Next Step
Persistent swelling, locking or instability after an initial assessment usually warrants specialist input. Symptoms lasting beyond a few weeks are rarely worth ignoring, even if pain feels manageable. A consultant can correlate examination findings with imaging where this is genuinely needed. This confirms whether conservative treatment or an injection-based option suits the case better.
Where cartilage wear is significant, comparing treatment routes becomes a useful next step. Patients wanting a visual walkthrough of non-surgical joint pain education may find the Dr SNA Clinic YouTube channel useful. Video demonstrations often make special tests easier to follow than text alone.

Frequently Asked Questions
What does a physical examination of the knee involve?
It follows four stages: look, feel, move and special tests. Each stage builds on the previous findings. Together, they narrow down the likely diagnosis.
How long does a typical knee exam take?
A focused assessment usually takes between ten and twenty minutes. Timing depends on findings and complexity. Special tests may extend a straightforward visit slightly.
Can special tests diagnose a meniscal tear without a scan?
McMurray’s test raises suspicion of a meniscal tear. MRI often confirms a suspected result afterwards. Neither method is used entirely on its own.
How does the anterior drawer test differ from testing done at thirty degrees of flexion?
Both assess the anterior cruciate ligament directly. The thirty-degree method, Lachman’s test, reduces hamstring interference. This often makes results more reliable overall.
Does knee effusion always mean arthritis?
No, knee joint effusion has several possible causes. Injury, infection and inflammation can all produce fluid. Arthritis is only one possible explanation.
Is a Baker’s cyst dangerous?
Most popliteal cysts are harmless and simply monitored over time. Sudden pain or rapid swelling should always be reviewed. This can occasionally signal cyst rupture.
Why does gait assessment matter during a knee exam?
Gait cycle phases often reveal instability early. Compensation patterns can appear before pain becomes constant. This makes walking assessment a valuable first step.
Why is history important before a physical examination of the knee begins?
History narrows down likely causes efficiently. It helps a clinician focus hands-on testing appropriately. This saves time during the overall assessment.
Conclusion
A physical examination of the knee combines look, feel, move and special tests into one structured process. Together, these steps reveal swelling, instability, ligament laxity and meniscal damage with reasonable accuracy. Understanding each stage helps patients feel prepared before their own consultation begins.
Mr Syed Nadeem Abbas specialises in non-surgical knee assessment and treatment in clinical practice. His approach combines thorough physical examination with evidence-based injection therapies for lasting joint relief.
Read more: Heat or Ice for Arthritis Explained for Better Joint Relief
Read more: Knee Injection for Arthritis Provides Lasting Pain Relief